
Today i would like to show you one of those big projects we did this weekend the whole entered project would of taken us 2 days but it took us 3 1/2 why well because the hubs works full time and i also have clients to work for as well as kids extra curriculum activities and other projects we have been getting into also big thing SPRING CLEANING >!!! Im in who is with me ???
Back to the project we have been sleeping in our mattress NO bed for almost a year i know i know !!! yikes !!! is that when we moved we decided to sell our old bed and get one as soon as we got to our new place that was A YEAR AGO !! I've been looking for something that will fit us and some good candidates appeared but when it was time to buy i hesitated and well i lost the deal ...
East coast creative is doing this big link up contest and i thought it would be the very perfect opportunity to do something and finally get into a link up !!...so i persuade the hubs to help me out with this "Little " project of mine and of course he didn't say no !! .. so on to home depot we went.. !!
We first stared with a plan ...witch i may add the the inspiration of this headboard came from this amazing blogger /designer ...her name is Sarah M. Dorsey and she is extremely talented she she gives step by step on how to make it as well as the plans mine are a bit different from her just in the fact that i added a bit to the high and the sides of the headboard also that we added the bed frame and that was our design with no inspiration except ours.. {thank you for pointing that out readers}i really appreciate it ,,
Headboard :

Frame:

After drawing the plans we head up our local Home Depot and fabric store...
things we bought at home depot
- 4 : 2x12x {frame}
- 10 :1x4 {base}
- 2 : 2x4 {sides and legs}
- 1 :72x62 plywood 1 1/2"
- 4:2x2 for support
- scraps of MDF {for framing ends}
- screws
- finishing nails
- hinges {to hold sides}
- 4x leg plates
- 4 big leg screws
- drill
- hand saw
- table saw
- wood glue
- measuring tape
- pencil
- two different types of ruler
- drill press
- clamps
- paint
Things we picked up at the fabric store
- 6yards of gray upholstery fabric {super thick stuff love it }
- 6 yards of foam and batting 2"
- nail trim i used about 1 package 1/2
- button kit 3x i used 24 buttons
- decorating needle {the package comes with 3 i used the middle one 5"}
- thick tred
and here the worlds starts !!!

My awesome hubs did the wood part and i did the the fabric trimming and painting .... in the above picture he is cutting the 2 x 12 in a 4 5 degree angle so all 4 pieces fit tightly .

then we clamped glue and screw the 2x2 for support
next step was to screw in the hinges

and we had a frameeeeeeeee

Now it was time for me to step in and start cutting
Upstairs we go....
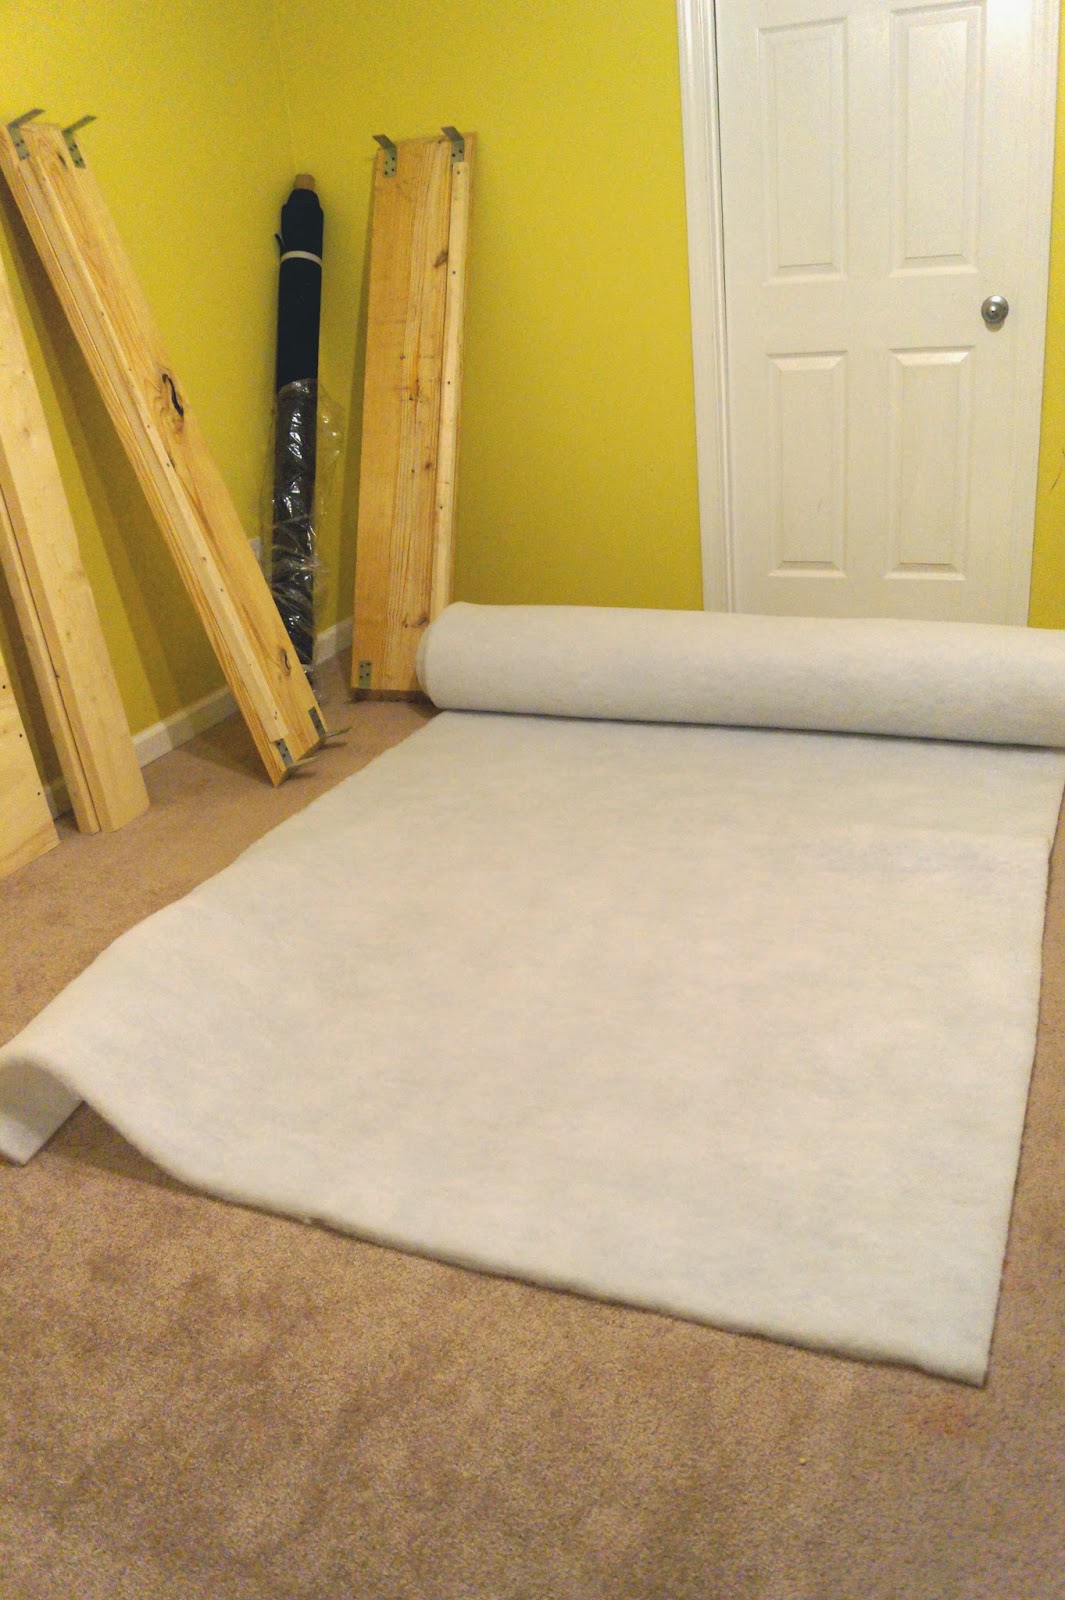
Sorry about the lighting in this room it was already supper dark and we needed the bed to be make i did not wanted to sleep in the couch aging no matter how comfortable it might have been


when that was set and done i went on to made the buttons .. i tell you it was a very hard thing to do because the fabric was so thick i couldn't get the buttons to stay together but after separating the front of the fabric and the back bad that it had adding some hue to one of the button sides ... i had buttons....


next part was easy i made my hubs pre drill some holes on the back of the headboard before i put on the fabric so i can place the buttons where they belong
......

next thing was i pulled on the string and staple it .so if one of my kids decide to pull on the buttons {witch btw they already did } wouldn't come off {it didn't }.

and this is what it looked like on the other side...

then i called Sean {he was playing with our oldest son }silly me interrupting like always bahaha
well i called him so he could help me put on the side arms it was way to heavy for me to handle..

then i got my trimming on ... i went for the gold trimming like in the foyer bench since gold is so in now i can always change it when i get tired of it..{see i already had a boo boo }

next day ....
my next part was to put fabric and batting to the frame of the bed...

Next step was just putting the frame together so we could finally attach the legs ..!!!!


ha after this picture we notice that the leg plates was upside down {we can also make mistakes }
so this is the proper way the leg plate is support to go .... Thanks for the patient ..

next day
The hubs made this legs with 3 2x6 scraps we had hanging around the house he glued screw and cut them to what i wanted them to be then with the drill press he made the wholes in the middle to install this very big and thick what you may call it screws . i painted them and let them dry over night

After the legs were screw in it was time to lay and screw the support boards a crossed the frame {lots of screwing going on } ohh you dirty minded thats not what i meant to say ..


i wasn't very happy with the look of it it still looked a lot like so many I've seen so i wanted to ad a little more to it so i made him make this cover for the comers of the bed out of so MDF scraps we had hanging out there from a previous project .

And well this is our final result ....


next thing is,,,,,,,,,,,,,,,,, idk yet but something very soon ... i was laying down last night looking at the whole room that is very bared and my mind was going a million per minute the wheals were spinning super fast and the hubs notice "GOOD LUCK SEAN"..!!
have you gotten your self in project that you wanted to leave half way ??? or something that was harder than what you thought it would of been ??
Ps : if you follow me on Instagram you might of nodes couple months ago we made a headboard {just the headboard} but after a few weeks we sold it since it wasn't as high as i wanted it and the fabric wasn't comfortable enough ..
until next time..


10 comments:
it really is gorgeous, but i wondered if you got the plans from sarah dorsey? she did something very similar here hat is JUST STUNNING.
http://sarahmdorseydesigns.blogspot.com/2012/04/diy-headboard-complete.html
Beautiful headboard. When I first saw it, like Cassie, it immediately made me think of Sarah's too. She had an awesome tutorial for it. I always thought I would do a DIY inspired by her plans, but then decided this is probably one of those times I'll just buy one!
hello hun ... well the first one i made wasn't ... until couple months i came upon her website and saw her amazing job !! {i should of credit uh >?} yes i did used her headboard design since it was what i was looking for but i did a bit of alternations to the size i wanted my headboard to be .. also i added the frame witch it was all us ,.. thank you so much for pointing that out .. i make sure to give her credit I'm new in all this so thank you , hope you stick around..
xox Alina
hi sweetie ... thank you aging like Cassie for pointing it out to me that i didn't give Sarah credit for pinching in in her headboard design that i may add was AMAZING we love ours .. i did made some alternations to the size that i wanted mine to be as we also added the bed frame and that was all us.. yeah we were thinking of buying one as well but nothing came up to what i wanted until one day at Joss & Main but when i went to added to my cart it was all gone ..{sad face} but this gave us an opportunity to make our own with the help of course sarah ..
hope you stick around .. I'm new but i pro mess to bring some good stuff to the blogging world ...
thanks..
xox
Alina
I do like the bed frame you created and the additional height you incorporated in your headboard:)
thank you so much ..im glad you liked it ..:)..
xo alina ..
you did a beautiful job! love the fabric selection and how nicely it plays with the wall color. keep up the good work, alina!
Thank you so much Cassie I also love the antic is thick yet amazingly soft .. Also stain resistance a big thug for us mum with small kids :) and well the color thanks I've been thinking of changing it but i don't know yet :) thank you
Xo alina
It looks fantastic! I would love it if you joined and contribute your awesome posts at my link party at City of Creative Dreams on Fridays :D Hope to see you there at City of Creative Dreams Link Party
Oh hello , how are you /??? thank you so much !! and i apologize for the late reply ive been a bit busy these days but i would love to contribute to your link party when ever you have another one .. so ill see you there .. and thank you for the sweet comment and the opportunity ...
xox ,alina
Post a Comment