
For a few years now I've had this obsession with the x desk i was in love with this one but i just could put the trigger to over $1000.00 {at least for me when i have a family and kids are involved sometimes other things get priorities and what we want is not really a need }. so i continue my search for a lower price x desk and i found this one and for almost $300.00 wasn't that bad but i still didn't see what i was looking for in it then i found this beauty for a littler over $ 200.00 and well i was already on my way to purchase it when life got in the way and i couldn't because i had to take that money to make a unexpected trip .
Anyhow as you might think yes i was very sad and a bit disappointed but not to worry my super man husband came to the rescue and oh did he delivered ! i got to design my own X desk i was beyond happy by this point i just had to get to my design board start some sketches with i did and i shared with everyone back in 2014 on instagram . {if you dont follow me already you should this is where i do all my sneak peeks and post everything on my radar }.
So we headed to our near best friend store Home Depot or like my kids call it our second home and picked up some materials .

What we used :
Materials :
4 ; 6ft 1 1/2in x 1 1/2in
3 sets of drawer sliders
6 ; 6ft 12in x 1/2in
1 can of Behr paint in white a combo of paint and primer
Dimensions of desk are :31in H x 30in L x 62in W
He stared with the legs he made some inserts and pre drilled a whole so the legs fit very tightly almost making them into one.


He used glue as well as he drilled them both together and covered it with a wood dowel that later he took down to size so everything could be seamless .

Then he did the same to the legs so both legs could seem like one .

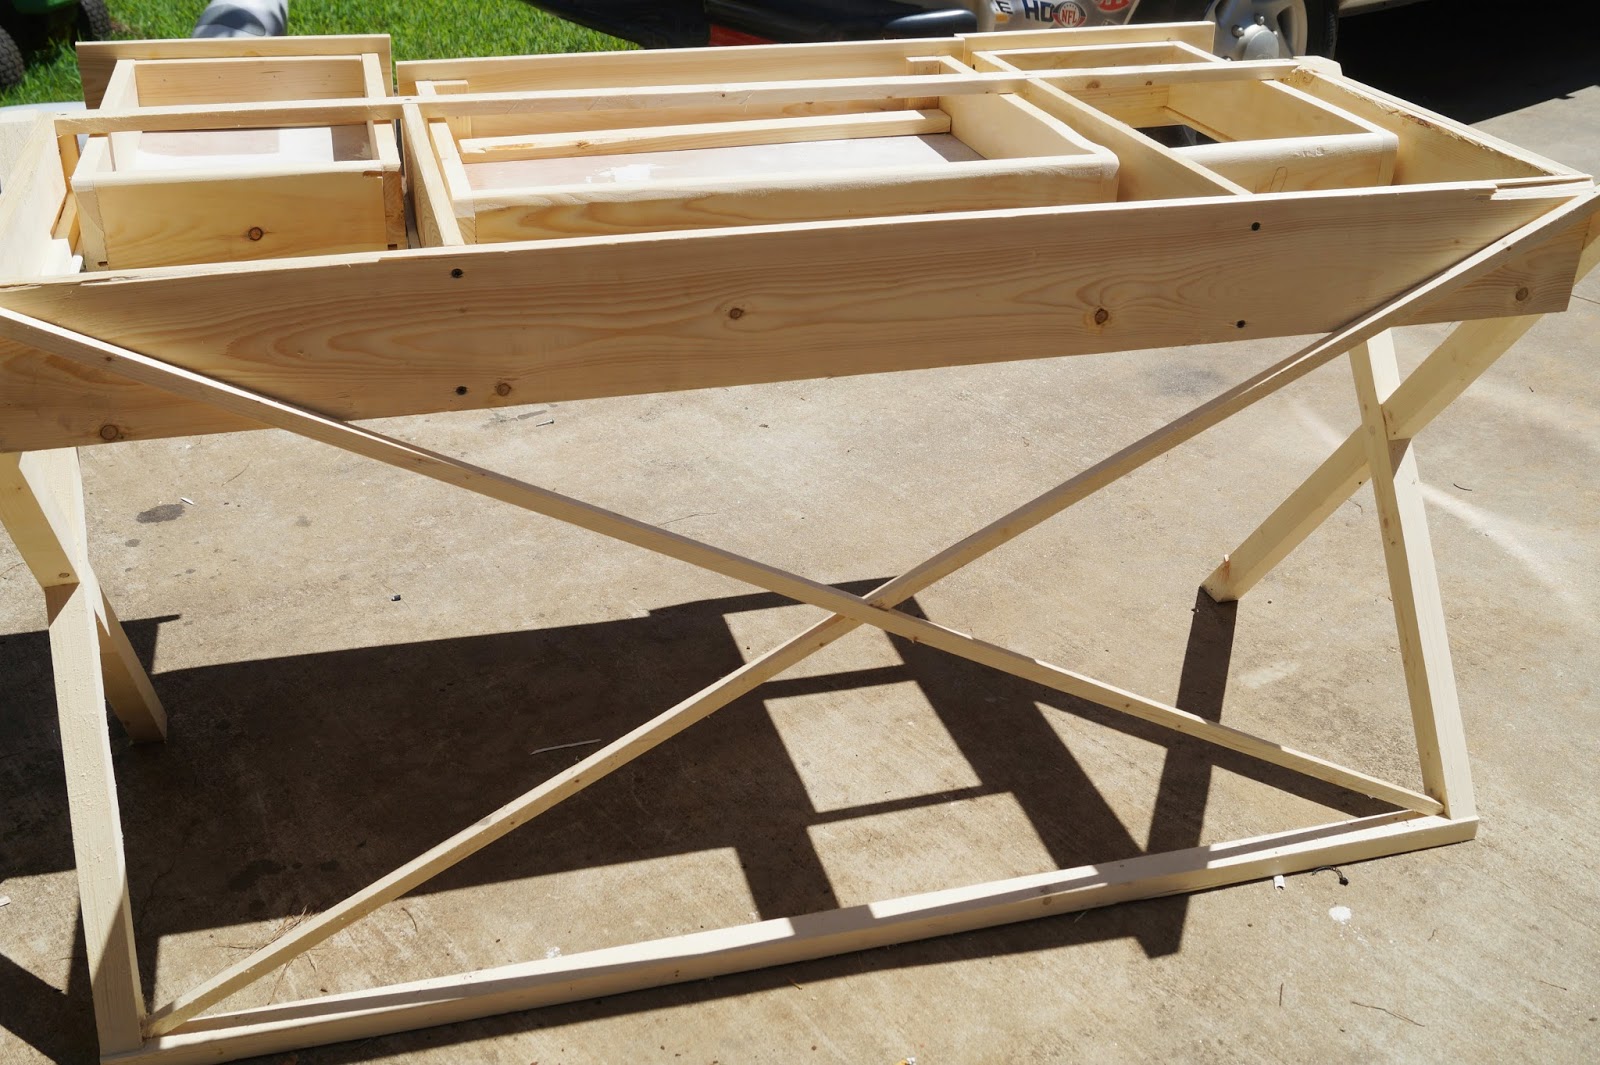
And this is where i put my stamp i decided to do another X in the back for extra support and also for decoration purposes .

Sense the wood wasn't flawless he covered with some wood potty ..we letter dried and return to wiped out any access and sanded everything down .

then he stared the drawer process ..


All those wholes do to the screws will be later covered by potty and sanded down and painted over
Unfortunately i lost some pictures of how we put the top and well we used a branded nail gun from the inside of the desk to press the top to the bottom as well as wood glue also to get the meatless look on top we glued 2 pieces of the 12 x 1/2 and used 1 6 x1/2 and clamped all down and waited until dried to put wood filler where needed and sanded everything down smoothly with the rest of the desk .

next step was painting the drawees for that i took them out of the desk and placed them in a work table and gave it couple coats of paint


At first when i applied the paint you could see the strokes but after dried it was almost impossible to see .

After being dried for a day and a half we brought it in to my studio .


well and there you have it :)...
until next time ..


No comments:
Post a Comment