
****WARNING****
VERY LONG POST AHEAD PROCED TO READ IF YOU DARE ..BAHAHHAH
1...
2..
3..
4...
5..
6..
7...
8...
9..
...
...
..
..
.
..
...
...
...
Well now that you are back i would like to show you how this bench became a bench ...
Ive always been in love with stripes and benches and well white and black stripes go with everything !! and they are soooo stylish ?? uh ??..
so for a long time i was looking for a white and black striped bench for the dimension of my foyer...

And after a few month looking i came a crossed this one ...it was loved at first googled...
But .. yes there is a but it was to long and to wide and bit to short and yes couple cm can make a big difference ...
I went to Sean {my lovely husband} and told him about my dilemma ..{yes i can be sometimes dramatic when something doesn't work for my favor ..} NOT ALL THE TIME just about a 10%..anyways back to the bench ...He said it was no problem that he could make it ... knowing the handy man he is i didn't hesitated to say YES !! i{i should of asked months ago } now i was in the hunt for perfect fabric i went all over town looking for something thick and durable and came out empty heanded there was a few stores that came close to what i wanted but nothing ... then i went online {i like to order samples before buying so i know what would I've been working with }so thats what i did and nothing i came out coming it just two short ,..{i might have a picky problem !! } but if I'm picky i know exactly what i want,.!!..
Back to the fabric .. then over Christmas vacation my mum, husband , kids and i decided to go over Ikea to pick couple things for a project i was doing over my mums .. i walked around ales and more ales until i stumble upon the fabric section ohhhh i heard angels singing ..!!!!!! and for only 7.99 the yard !! say what !!!!!!!!!!! i graved four i know i only needed 2 but i wanted extra just in case and well it was just amazing texture and amazing price so why not ..
So finally after a month we got back from vacation we had some free time and stared working on on the foyer specially the bench...and this is how the process went.. enjoy..

What we used for frame :
Tools:
table saw
ruler
measuring tape
pencils
sander
drill
drill bits
wood glue
clamps
Materials for frame:
1:1x4 {then i later cut in four pieces }
finishing nails
MDF board


Before any drilling gluing or hammering i need to make sure that the frame was what i needed ..

i clamped all the pieces together that needed to be clamp so the hubs will drill the wholes where i wanted the nails to go .. then we glued and put the nails in and we had a frame ..

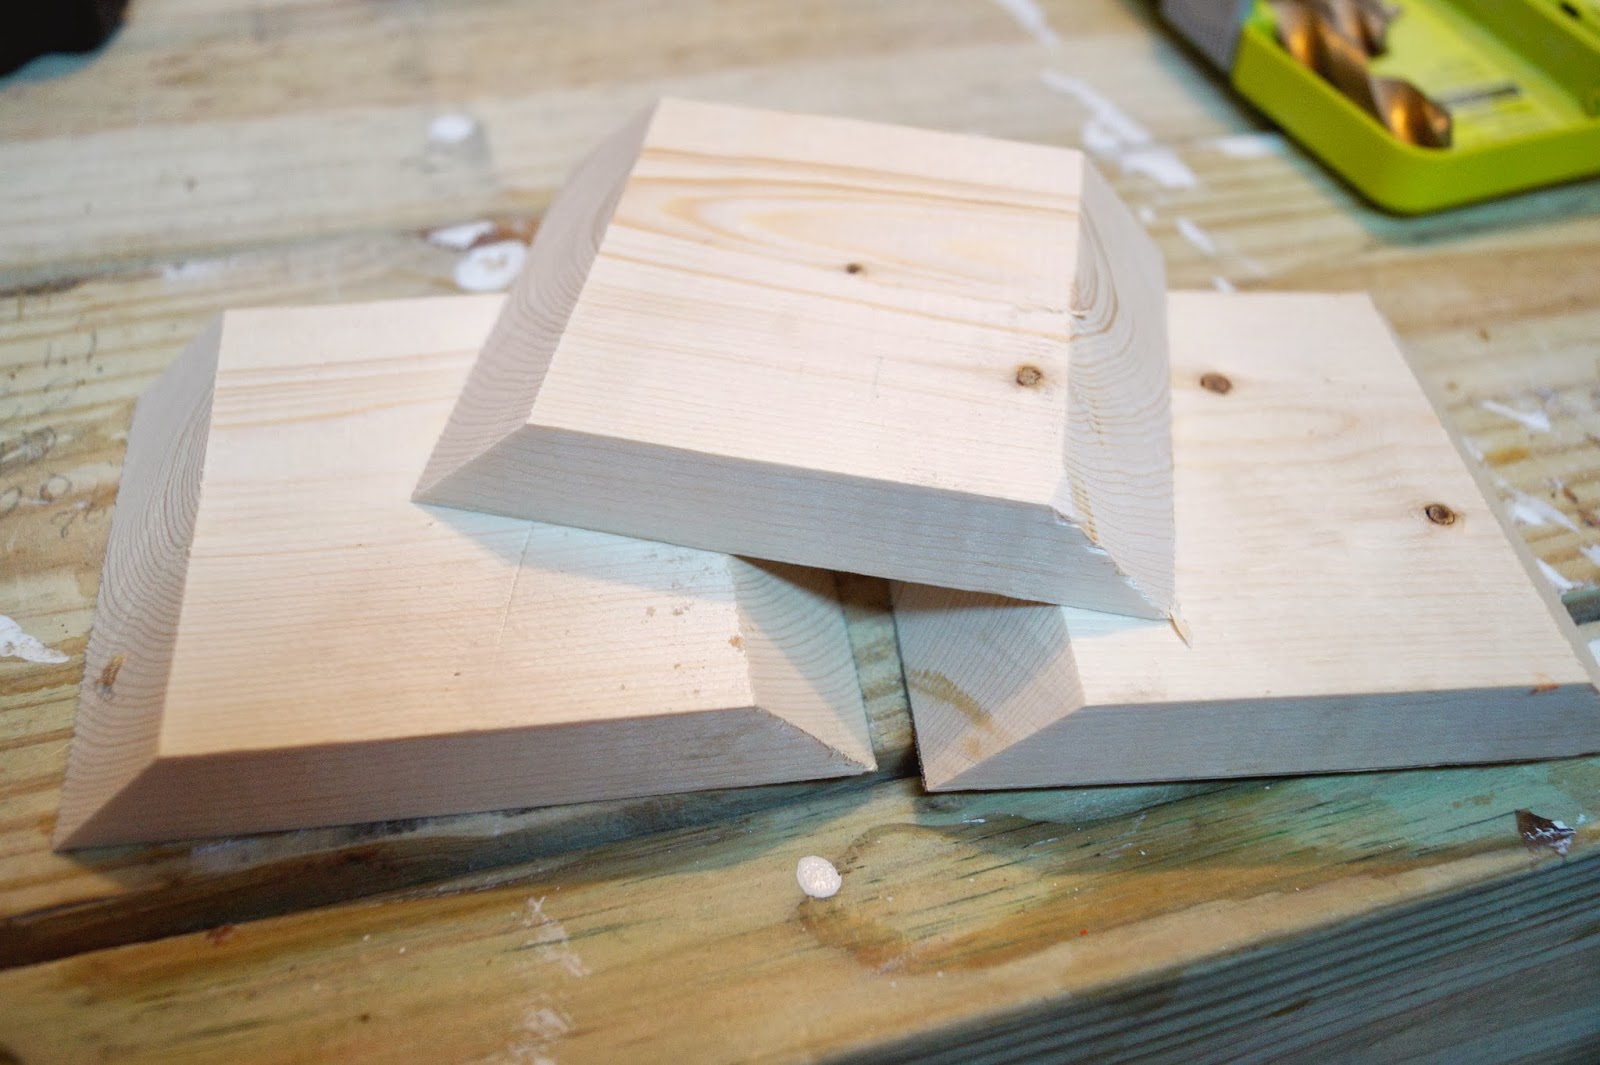
This little pieces he made to hold the frame straight as well as to hold the metal plate that was going to support the legs
He made them as the scraps of the 1x4 we got and made a 45 degree angle on the sides with the table saw .
The we went back to the rest of the frame clamped the piece of wood for support then drill for the nails to go in. we did the same process as what when we made the rest of the frame after drilling holes we glued and the hammered nails in..


Then it was time to cut the MDF board and attached it to the frame we cut it witch the same dimensions of the frame witch they were 41 by 15.

While he was doing that i hoped over the other side of the garage and stared painting the legs. Since they where unfinished wood there was no need for priming in my opinion.

I let everything cure until the next day and i was ready for the rest of the bench .
What did we use:
Foam for the confort
Fabric chalk
measuring ruler and tape
nail gun/staple gun
staples
fabric 1 1/2 yards
leg plates
screwdriver
decorative nails
nail hammer
legs
scissors

I cut the foam and since it was a bit thin for my taste i cut another one and put them together to give a bit of more comfort .Then i measure the fabric i needed and cut..

Then it was time to staple .. i did it ever three inches just to be sure that the fabric wasn't going anywhere some people like to apply hot glue to the boarders and the wood but i didn't because it didn't seem necessary to me .

I brought the legs up from the garage and they were ready to install.. oh btw i did two coats of paint just to make sure it was all white and even .

Lest not get myself ahead of things first i need to drill the leg plates onto the frame ..

And thennnnnnn the legs ... witch i had a bit of help from my handy boys .. {did a sneak peek last week on Instagram} .

Ps: don't mind the color in my dinning room it came with the house and even though a paint job might be easy and quick in a year we haven't gotten around to paint but soon is in my to do list for the next two months.
Since the bench was a bit plane for my fast i thought it was a good idea to add some nail trims to it

And to be honest with you ic couldn't be happier for my decision ,.. i heart it so much I'm in the process of making a second one a little different so wait for the tutorial..

And well this is my end result .. I'm head over heals with it ,..

Ps:don't mind the floor we are thinking of taring it all up even the carpets in the stairs in our near future.

linking up to :

No comments:
Post a Comment